


How to Downsample an Image, Convert from RAW to TIF, Use Curves
John W writes:
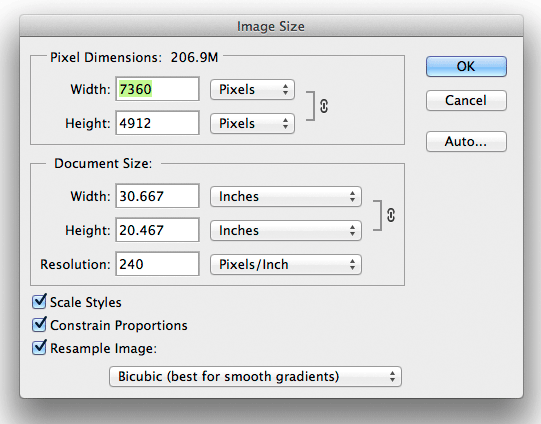
I don't get the workflow of downsampling.
You cite this technique frequently, but I don't see a specific step by step for us neophytes.
Also, what type of file are you downsampling in Photoshop - TIFF? After LR correction? Please give a step by step.
DIGLLOYD: these sorts of questions come up often enough that I’ve started some workflow pages, to be expanded over time as similar questions arise. While I know that there are many advanced readers out there, these pages are oriented towards those learning the important basics of digital photography.
What I have found over time is that books on workflow tend to have about 20X more material and irrelevant filler (for my needs) than I want to read; I want instant-applicability tips and techniques to quickly make improvements to my process, and thus that will be my approach with these new pages and those that follow.
See my new Workflow pages in DAP, including How to Downsample and Sharpen an Image, which discusses downsampling and post-downsampling sharpening.